Supply and Demand Strategy: The Ultimate Beginner’s Guide

Mastering Demand and Supply—Ever feel like the market is a chaotic battlefield, and you’re losing without understanding the basic rules of combat? It’s time to harness the hidden power that pro traders rely on—the demand and Supply strategy.
Flashy indicators and complex strategies might seem exciting, but the foundation of smart trading lies in mastering simple supply and demand. It might sound boring compared to the latest trading fad, but trust me, this stuff is pure gold.
Get ready to transform your trading results – starting today! In this beginner’s guide, we’ll break down supply and demand in terms a newbie can understand. Let’s dive in!
What is Supply and Demand?

Forget all that complicated financial jargon for a second. In essence, supply and demand explain why prices move up and down. Here’s the breakdown:
- Demand: When there are more buyers than sellers, prices shoot up. Think of the latest hyped sneakers – tons of people want them, but not enough, so the prices climb.
- Supply: Flip the script, and you’ve got a supply. Too many sellers and not enough buyers? Prices tank. It’s like those clearance racks at the store—they have to get rid of that stuff.
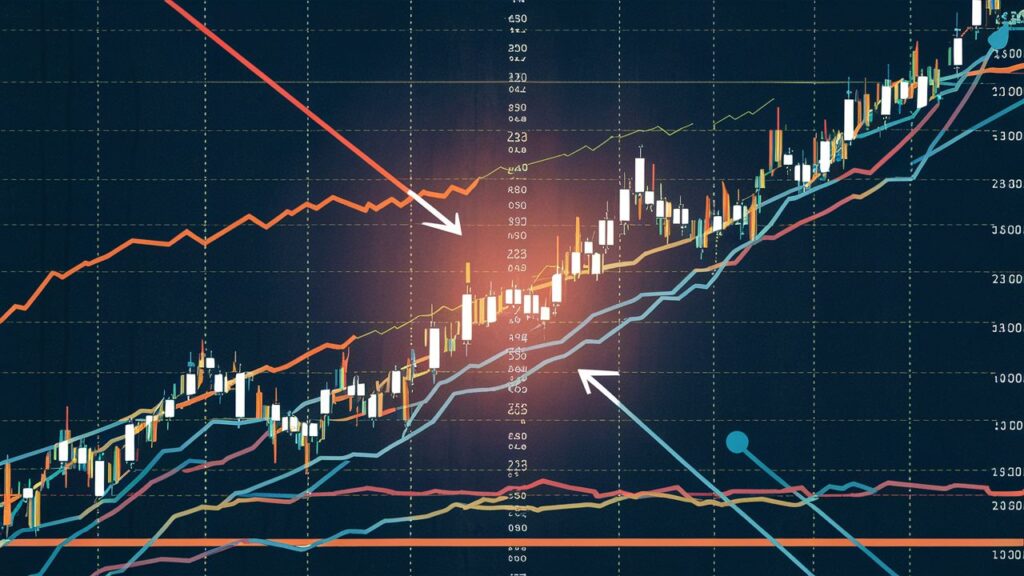
Picture a giant tug-of-war between buyers and sellers. That sudden, strong surge in a chart? That’s where one side overwhelmed the other, showing a potential turning point in the market.
Key Concepts

Let’s get familiar with some basic terms:
- Supply Zones: Think of these as roadblocks on the price chart. There are areas where sellers recently stepped in, causing prices to drop sharply. When prices get near these zones again, there’s a chance sellers will pile in once more, putting the brakes on any upward movement.
- Demand Zones: Picture these as launchpads for the price action. Buyers flood the market in demand zones, pushing those prices to the moon (or at least a little higher!). They mark potential areas where buyers might defend and make prices bounce back up.
- Fresh vs. Old Zones: Here’s where things get interesting – not all zones are equal. We want to focus on fresh, untested zones where the market hasn’t decided who will win the next round. Avoid those zones poked and prodded a million times – they’re probably not packing the same punch.
How to Identify Supply and Demand Zones
Ready for some zone-hunting action? Here’s how to track them down:
- Big Moves Matter: Scan your charts and look for those eye-popping surges or drops – those candlesticks that stand out from the crowd. Those are clues that a severe power shift just happened.
- Pinpoint the Origin: Where did that strong move start? Mark the beginning of the surge or the drop – this is the heart of your potential zone.
- Box it Up: Draw a simple box around the starting area on your chart. Congratulations—you’ve just spotted a supply or demand zone!
The Trader Mindset: Understanding Psychology

Trading isn’t just about fancy charts; it’s also a head game. Understanding the psychology behind supply and demand is super important:
- Imbalance is Key: Zones show where there was a sudden power shift in the market. Traders are always watching these areas extra carefully, anticipating the next clash.
- FOMO vs. Patience: That fear of missing out when the price hits a zone? It’s tempting to jump into a trade right away. But savvy traders wait for clues from the price action to see if the zone will hold up or get steamrolled.
- Traps and Fakes: Don’t be fooled! Markets can be sneaky. Sometimes, a zone will ‘fake out’ traders, briefly breaking through, then snapping back. This is why confirmation is crucial before you risk your hard-earned cash.
- The Illusion of Certainty: Even super clear zones can fail. This is where overconfidence can get you into trouble. Always be prepared for the unexpected – manage those risks!
How to Trade with Supply and Demand
Now that you can spot zones like a market ninja, it’s time to use them to your advantage. Here are some basic ways to trade with supply and demand:
- Breakouts and Retests: This is the classic setup:
- The Breakout: Prices blast through a zone, leaving it in the dust.
- The Retest: After breaking out, prices often return to retest the zone—it’s like they’re double-checking whether the other side has completely given up.
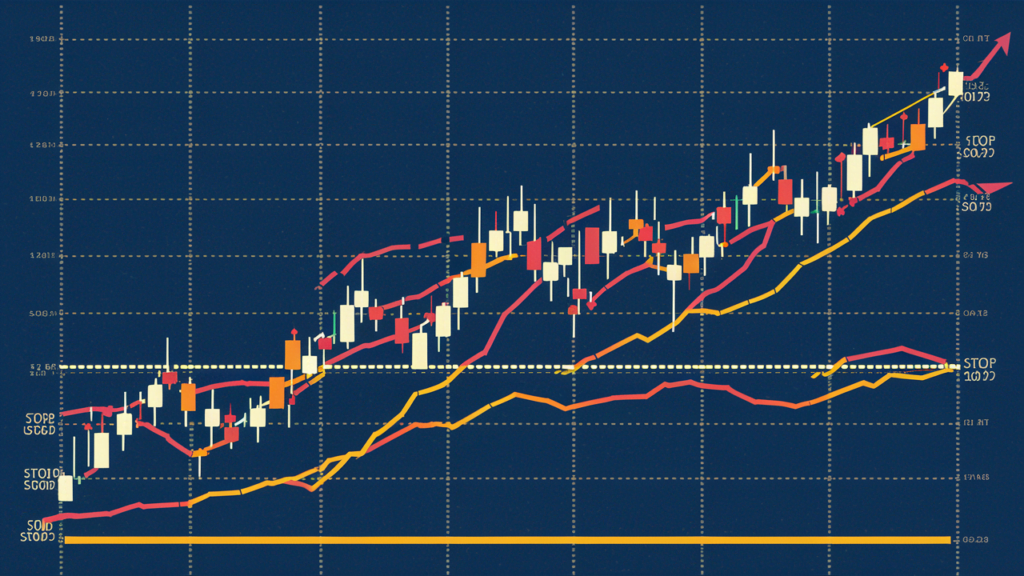
- Your Entry: If the retest holds (meaning the zone acts like a new support or resistance level), there’s your potential entry with your stop-loss placed safely beyond the zone.

- Counter-Trend Possibilities: While less common for newbies, super-strong zones can sometimes trigger major reversals when the overall trend weakens. Think of it as the momentum dying out, and the other side takes over. Be cautious with these until you’re more experienced!
- Confluence: The Power of Teamwork: This is where supply and demand get extra juicy. Combine your zones with other tools like:
- Trendlines: See if your zones match vital trendlines. This is like adding another layer of evidence.
- Simple Indicators: Moving averages can give extra hints about the overall market direction.
Mastering Demand and Supply – Common Mistakes to Avoid
Before you rush off to trade, let’s make sure you don’t fall into these common traps:
- Forcing Trades: Don’t try to see zones everywhere! Only take those trades when the setups are crystal clear.
- Overly Wide Zones: Keep those zones precise and tidy. Imagine those laser-focused support/resistance levels, not those giant, messy rectangles you drew in kindergarten.
- Ignoring Context: Always look at the big picture. Are you trying to trade a zone that’s going against a strong market trend? That’s like swimming upstream!
Beginner’s Tip: Focus on trading breakouts with the overall trend—it’s like having the wind at your back, making things a little easier when you’re starting out.

And there you have it! You now understand the core principles of supply and demand trading!
Here’s a quick recap:
- Supply and demand are the driving forces behind price movements.
- You can find potential trading opportunities by spotting supply and demand zones.
- Trade breakouts and retests or look for potential reversals with strong zones.
Start exploring your charts! Practice finding those zones using historical data. Check out the Apple stock, to begin with
Ready to take your trading to the next level? Explore these top forex signals today and see how they can enhance your trading strategy. Continuous learning and adaptation are key to staying ahead in the ever-evolving forex market.
Curious about which forex signals can best support your trading strategy? Join our community at The Signals Oracle, where we provide actionable insights, expert analysis, and a supportive network to help you succeed. Sign up now for our free resources and start your journey towards more informed trading!
Ready to put these skills to the test? Sign up for a trading signals package risk-free today!